It’s not yet quite the accurate swiss timepiece I was hoping for, but made a start on creating an internet enabled clock using a D1 mini and 2 stepper motors…
Credit to Jacques Favre for his original design.

Arduino, Alexa etc.
It’s not yet quite the accurate swiss timepiece I was hoping for, but made a start on creating an internet enabled clock using a D1 mini and 2 stepper motors…
Credit to Jacques Favre for his original design.
My pet dog loves playing with toys especially ones he can chase! I built a robotic ball that switches on and rolls away whenever he interacts with it, notifies me via my mobile phone where I can then take over control and finally powers down when the fun is over to save battery. Full details available here. If you like this project, please vote for it in the robotics contest at instructables. Thanks.
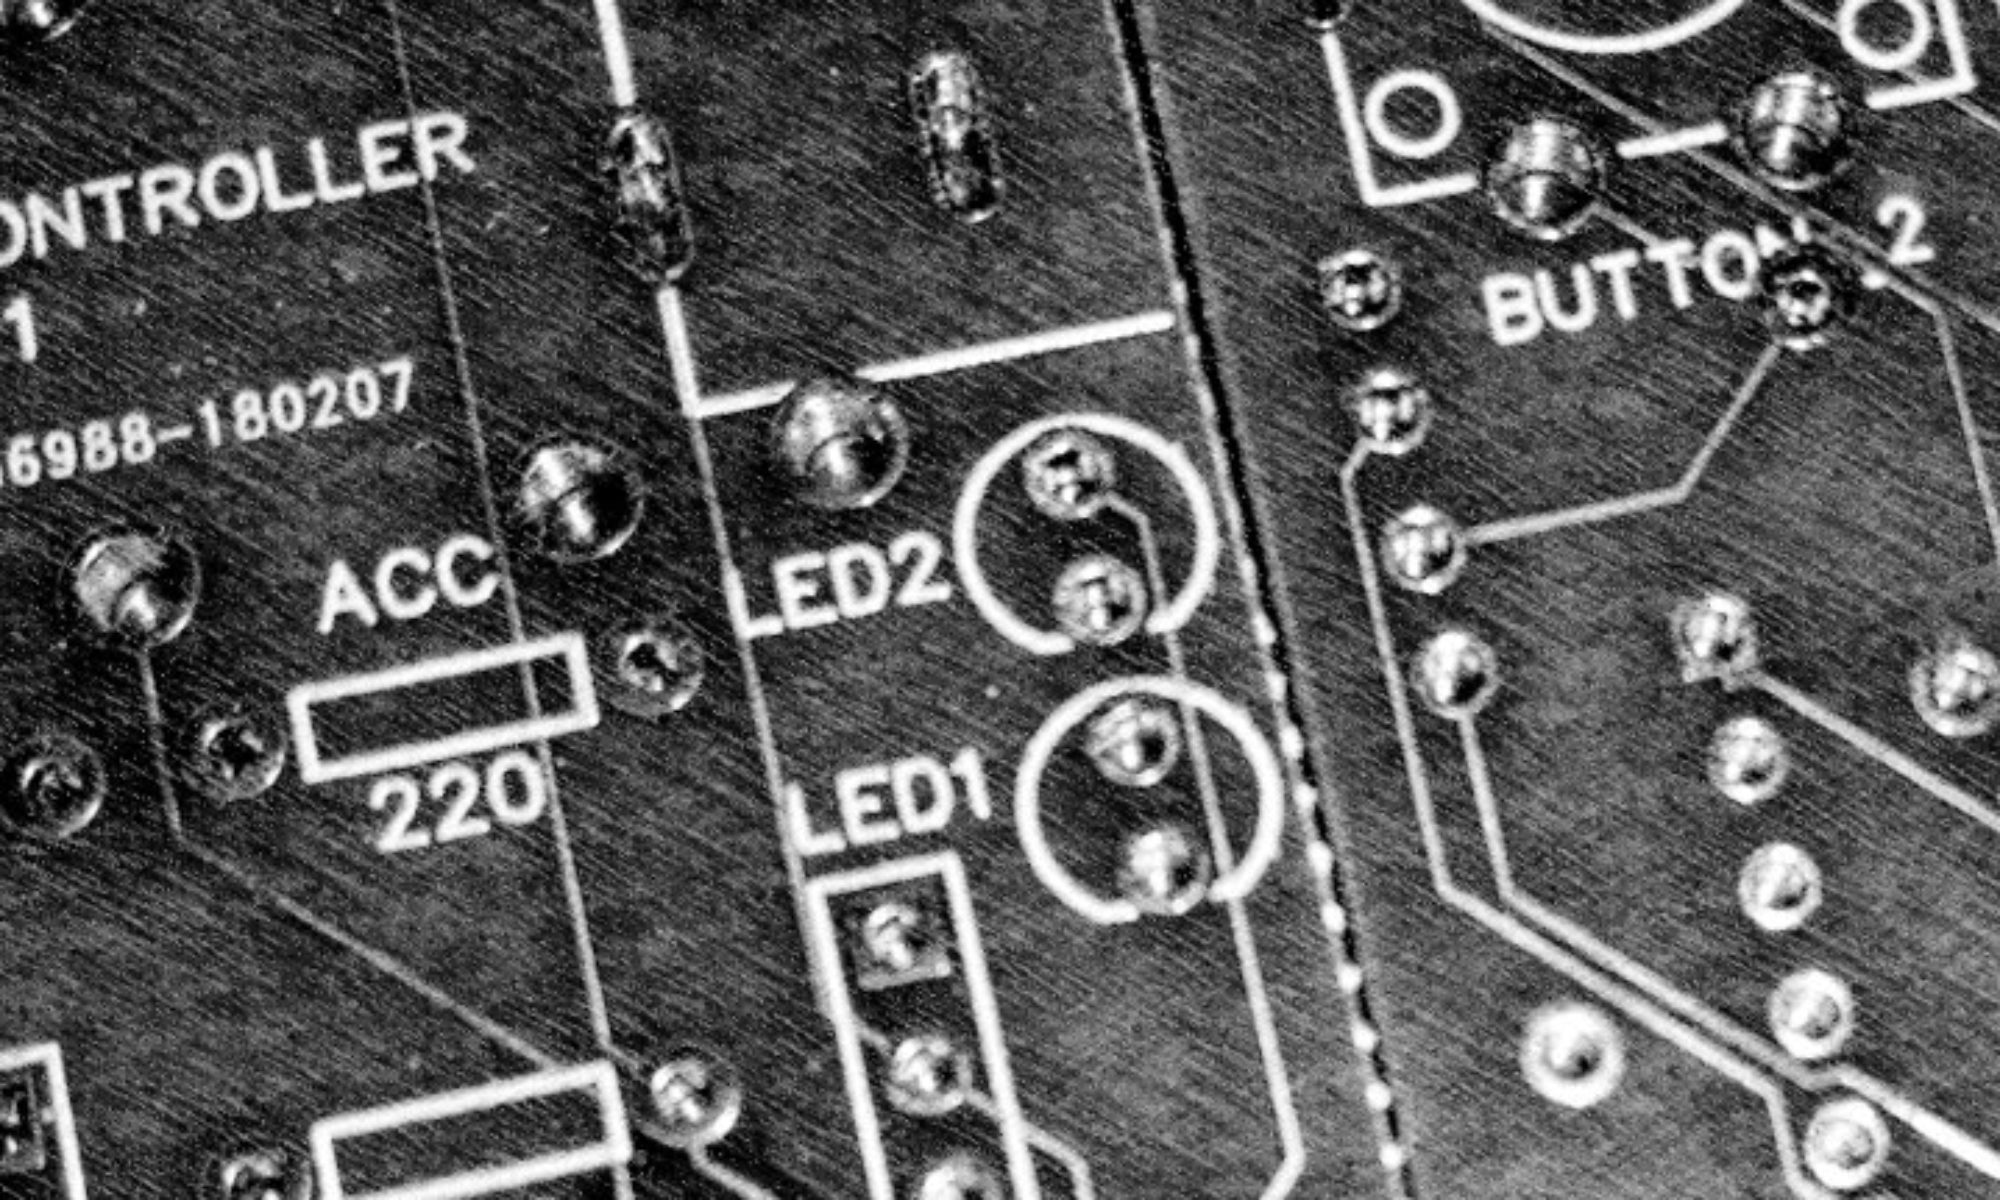
In my latest video tutorial I show you how to control a pull type solenoid switch with a push button using the D1 mini.
Solenoid switches have a wide range of uses from water/air valves to electrical relays. In a future project I use a pull type solenoid similar to the one used here to act as a locking mechanism.
The parts you will require are as follows:
The schematic is as follows:

The sketch for this tutorial can be found here.

Ever wanted to remotely monitor/log power usage of your electronic appliances? Well now you can with this DIY, 3D printable monitor.
As well as the 3D printable parts available from thingiverse, you will need the following:
Simply connect the parts as shown in the schematic below, solder the switch in place after assembly within the 3D printable housing.
Note: To allow use of the sleep mode you will also need to solder a connection between the RST and D0 pins of the D1 mini.

Download and install the Blynk app, use the following QR code to get your own copy of the power monitor app.


Configure the Arduino sketch for your own WiFi SSID and password as well as your unique Blynk autherntication token.
The latest Arduino sketch can be found here. Further details can be found at instructables.

I have today uploaded a new version of my wireless soil moisture sensor. This new version accommodates a larger 18650 type battery, a more efficient TP4056 charge controller and a DC jack for attaching an optional solar panel.
For full details see thingiverse and instructables


Exciting news, I will soon be releasing a new version of the Amazon Alexa compatible blind controller, similar in design but with all new hardware. Powered by a Wemos D1 Mini micro-controller, it is now WiFi enabled and can be operated from within a mobile app from anywhere in the world. Upgraded motors allow for precise, repeatable positioning and easy calibration either from within the mobile app or using the full manual controls. The mobile app also allows scheduled opening and closing at pre-configured times.
Check out the teaser trailer below and be sure to check back soon and subscribe to my YouTube channel for future updates…
Combining the D1 Mini and Blynk to create a wireless Soil Moisture Sensor…
This small portable sensor can be used to alert you to the moisture condition of your plants. In the future it can be combined with a water pump to create a fully automatic garden system.

To begin you will need to download and 3D-print the 3 separate parts available via thingiverse.
You will need the following components:
WeMos D1 Mini
3.7V 14500 Li-ion Battery
Capacitive Soil Moisture Sensor
D1 Mini Battery Shield
WS2812 RGB LED
1 x AA Battery Holder
Connect everything together using the following schematic:

The shield can be connected directly to the D1 mini. The breadboard is used above for reference only and components should be soldered and crimped together in order to facilitate positioning inside the printed housing.
Remember to connect the RST pin to D0 in order to enable sleep mode.
The final assembled device should look similar to the image below:

Download the Blynk App to your smart phone/device and create a new project based on the following:

Upload the sketch to the D1 Mini using the Arduino IDE. Edit the sketch to include reference to your WIFI SSD and password as well as your unique Blynk authentication token.
Insert and charge the battery and watch the data roll in…
Use the sliders in the app to adjust the threshold at which the dry/wet alerts are activated. The sketch can be further customised if your sensor needs it as well as for things like the length of time to sleep.
Before you can begin programming the D1 mini from within the Arduino IDE it must first be installed. Follow these easy steps to get started:

