IoT Push Button (D1 Mini)

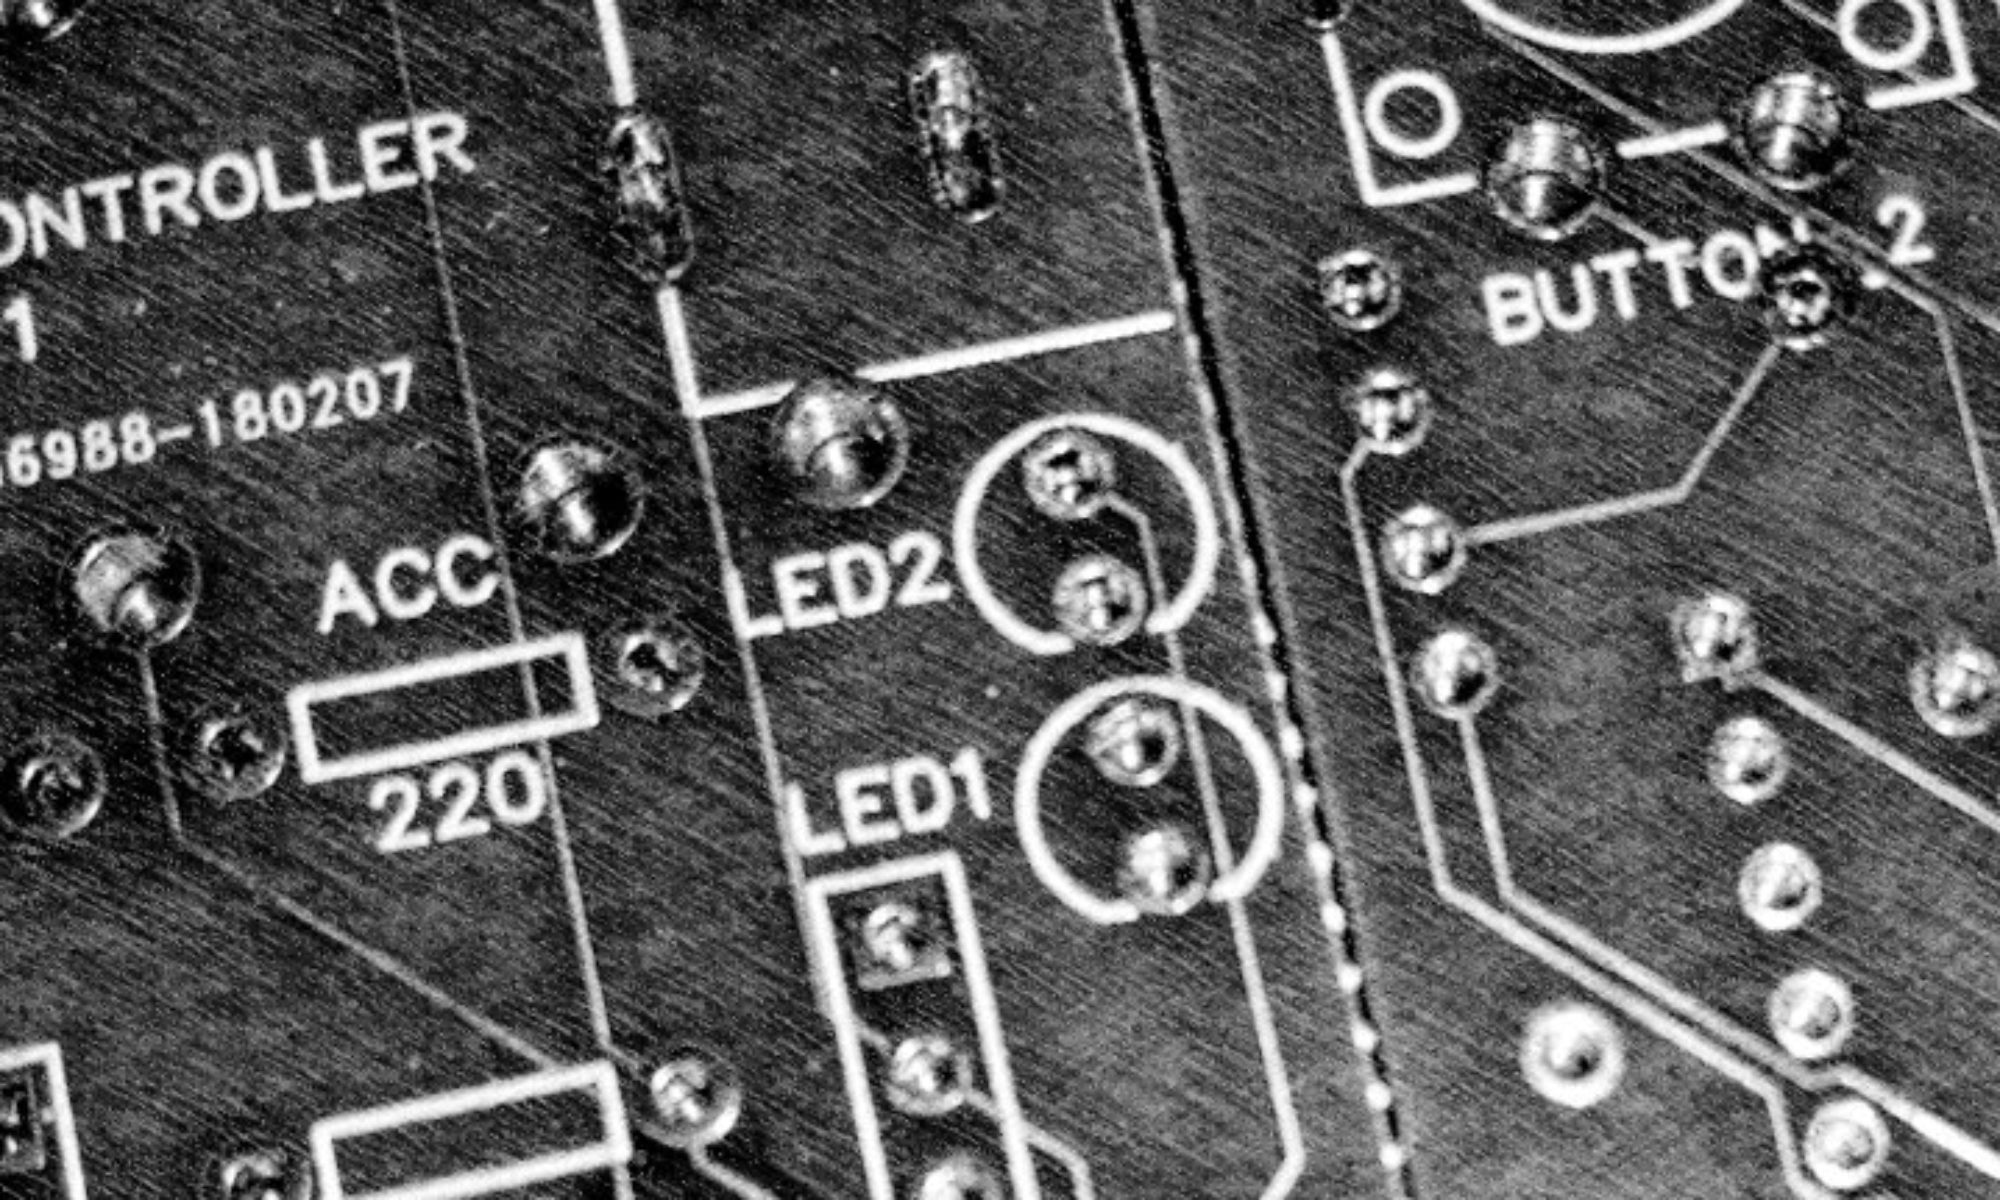
I made an IoT Push Button (Think of those Amazon Dash things) that you can use to control your central heating, turn on/off your lights and even request drink refills when relaxing in the garden (provided your other half is making the drinks of course!).

This project uses a D1 Mini micro-controller and should run for months on a single battery using the deep sleep feature.

You will need:

D1 Mini
https://www.banggood.com/custlink/3v33H1lji3

3.7 Li-ion 14500 battery:
https://www.banggood.com/custlink/Gv3vPToo9Y

AA style Battery Holder:
https://www.banggood.com/custlink/DKvDHTOOIt

Push Button and cap:
https://www.banggood.com/custlink/3KvDFuajZC

3D-Printable housing, some short lengths of wire and a glue gun to fix

Further details available at instructables:
https://www.instructables.com/id/Request-a-Drink-IoT-Push-Button/.
and Thingiverse:
https://www.thingiverse.com/thing:3733153


Blind Controller V2 Announced!

Blind-Controller-V2-Promo-Graphic

Exciting news, I will soon be releasing a new version of the Amazon Alexa compatible blind controller, similar in design but with all new hardware. Powered by a Wemos D1 Mini micro-controller, it is now WiFi enabled and can be operated from within a mobile app from anywhere in the world.  Upgraded motors allow for precise, repeatable positioning and easy calibration either from within the mobile app or using the full manual controls. The mobile app also allows scheduled opening and closing at pre-configured times.

Check out the teaser trailer below and be sure to check back soon and subscribe to my YouTube channel for future updates…


WiFi Enabled Soil Moisture Sensor

Combining the D1 Mini and Blynk to create a wireless Soil Moisture Sensor…

This small portable sensor can be used to alert you to the moisture condition of your plants. In the future it can be combined with a water pump to create a fully automatic garden system.

_MG_7852

To begin you will need to download and 3D-print the 3 separate parts available via thingiverse.

You will need the following components:

WeMos D1 Mini
3.7V 14500 Li-ion Battery
Capacitive Soil Moisture Sensor
D1 Mini Battery Shield
WS2812 RGB LED
1 x AA Battery Holder

Connect everything together using the following schematic:

Schematic.png

The shield can be connected directly to the D1 mini. The breadboard is used above for reference only and components should be soldered and crimped together in order to facilitate positioning inside the printed housing.

Remember to connect the RST pin to D0 in order to enable sleep mode.

The final assembled device should look similar to the image below:

DSC00734.jpg

Download the Blynk App to your smart phone/device and create a new project based on the following:

Screenshot_2018-12-16-22-42-33-140

Upload the sketch to the D1 Mini using the Arduino IDE. Edit the sketch to include reference to your WIFI SSD and password as well as your unique Blynk authentication token.

Insert and charge the battery and watch the data roll in…

Use the sliders in the app to adjust the threshold at which the dry/wet alerts are activated. The sketch can be further customised if your sensor needs it as well as for things like the length of time to sleep.

Arduino Garden

So I started work on my next project today, an automatic garden watering system and monitor based built using Arduino. My plan is to create a system that can:

  • Monitor basic parameters such as temperature and humidity
  • Detect when soil moisture is low and water automatically from a tap or reservoir
  • Be accessible and controllable via the internet
  • Alert when reservoir is low, excess temperature etc.

With the following additional features depending on how much success I have:

  • Collect excess water and recycle back to reservoir
  • Be powered using batteries recharged from a small solar panel

I started out using an Arduino Uno and a cheap 5V motor in order to determine if it could be powered from the USB alone and provide sufficient power to pump water over a distance of approximately 1m. I connected as follows:

sketch1-1024x919.jpg

Once this was successfully pumping water, I attached an ESP-01 and configured it to connect with Blynk to enable remote control.

This enabled me to start the pump from my phone but unfortunately Blynk would then suddenly disconnect and I would have to recycle power to the ESP-01 to get it going again. So thinking this may be due to the fact the ESP devices are very sensitive to their supply I am attempting to isolate it from both the Arduino and the pump using an external power supply and a relay switch.

DSC00376

I’ll let you know how I get on…

How to configure Amazon Echo to control RF devices using the Broadlink RM Pro

Cheap Radio-Frequeny (RF) devices may be easily controlled using Amazon Echo and the Broadlink RM Pro. This short tutorial demonstrates how to configure new devices in the Intelligent Home Centre App and enable the Broadlink skill in the Amazon Echo app to control them.

The RM Pro is available at the link below:

https://www.banggood.com/Broadlink-RM-Pro-Smart-Home-Automation-Phone-Wireless-Remote-Universal-Controller-p-942667.html?p=KF2715792233201409DJ

Details of my 3D printed Blind Controller may be found at thingiverse:

https://www.thingiverse.com/thing:2631414


Making screw free joints for Blind Controller

To allow for quicker installation as well as improved asthetics of my automated blind controller I am redesigning the gear surround and cover to enable them to be joined to one another without screws.

Attempt 1.

For my first attempt I tried a push pin type connector, the resulting design snapped together but broke when I then tried to separate the two parts.

SnapDesign1.jpg

Attempt 2.

For my second attempt I am trying a dovetail join and have cropped the print such that I can test the joint before printing the piece entirely (should have thought of this the first time round!).

SnapDesign2.jpg

Success!